2 min to read
Simple Intro to GitLab CI
How to configure GitLab for a barebones continuous integration setup.
In this article we will write a simple Python hello world program, and configure GitLab to trigger a CI workflow, everytime a check-in is made to the repo.
The program is a simple one liner in Python:
print("Hello World")
In order to test this code, we would need a Python interpreter. Usually, you would just run it on your dev machine, but for this example, it would be run on a remote docker container managed by GitLab CI.
We configure the CI by creating a file called .gitlab-ci.yml, which will control what happens when the application is run by the CI.
The contents of the .gitlab-ci.yml file is as follows:
image: python:latest

run:
  script:
  - python app.py
By using the image tag, we are instructing the CI to create a docker container with the specified image. We select this image based on our application’s dependencies. Our python app only depends on the python interpreter and so the official python docker image should be sufficient. By default, GitLab looks for docker images on the official docker registry. python:latest is the name of the python image on this registry.
The run tag is a custom tag used only to denote the name of the job. We could typically have tags like build, test, etc, to indicate the different stages of the execution, but for this example we only want to run our python app. The ‘script’ tag is mandatory for a job. This part tells GitLab what to run during this section. Here, we mention that we only want to invoke the python interpreter and execute our simple app. We could execute anything here. Typically for CI use cases, we would invoke unit tests and not the entire application.
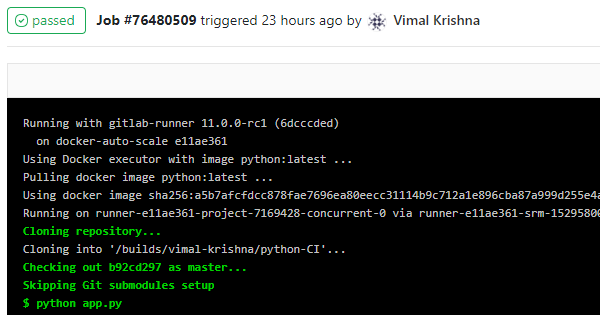
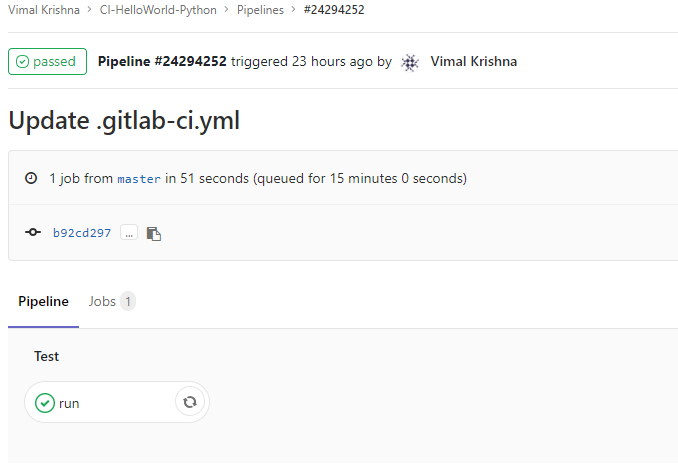
After configuring the CI, every time I make a check-in, the CI workflow is trigerred. This is called the CI Pipeline. A pipeline basically contains a bunch of jobs that will be run. In our example, we have configured exactly one job. In the below screenshot, the pipeline has run to completion.
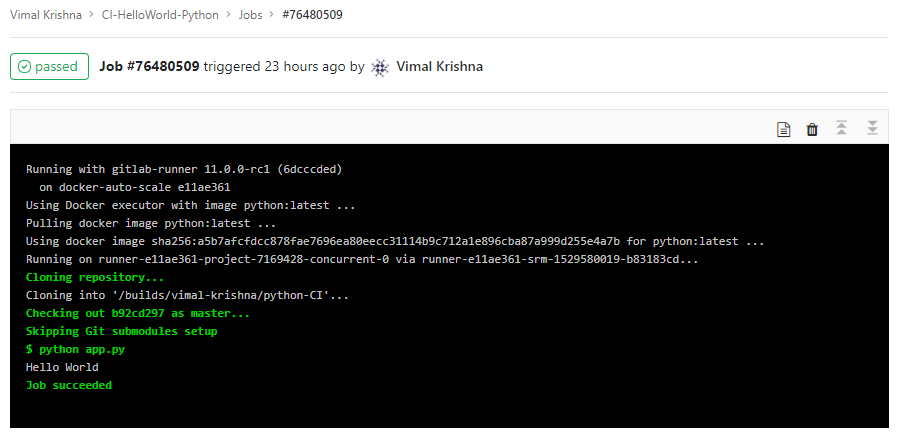
Looking at the details of the job that was executed, we can see that a docker container was created using the python:latest image, and then our application was successfully executed on it.

Comments